Posts

Line Following Robot- Using Microcontroller

Difficulty Rating: 6/10 Inspiration: Well, the Microcontroller-less Line following Robot turned out to be a huge success & earned a big name, and now its time to move on, to make bigger things. And this time its Line following Robot Using Philips Microcontroller P89V51RD2 (8051) a controller similar to Atmel's AT89C51. Components used: 1. 8051 Minimum requirement kit This kit consists of all necessary components like MAX232, DB9 connector or RS232, 11.0592MHz crystal, capacitors, Power supply unit etc. 2. AT89C51 or P89V51RD2 3. Motor driver L293D 4. InfraRed sensor CNY70 It consists of both transmitter-receiver inbuilt 5. LM324 6. LED 7. Resistors 8. Trimmer 9. Geared Motors 10. Wheels 11. Chassis 12. RS232 cable 13. 9 V supply 14. Other secondary hardware stuff (nut-bolts, screw, metal clamps etc.) 15. 16x2 LCD (optional)

The homemade 'green' LED tent light (Design + field test)

Image
Recently I went looking for a small portable tent-light, that can be used during camping and overnight treks. I was targeting the LED's with a heat sink attached to it. I found a variety of such devices but they were not worth the price I was going to pay. Most of the devices used the 3xAAA size batteries which are quite inconvenient to use, especially in India. So I decided to make something much cheap, at home and as I want it to be, in terms of size, shape, circuit complexity etc.  This time decided to something with the used batteries. Re-generating the wasted energy with the Joule thief ! Hence the name 'Green'.  Knob on the left side is to control the intensity. Right side is the switch. I have used a small wire to complete the circuit You can see two small PCB's mounted inside.   Ultra bright LED!! Once done, I put the setup inside a used plastic shampoo bottle. Used the empty space to keep the spare batteries as well as to maintain the b...

Speech, Text Controlled Robot using ARDUINO and VB.Net

Image
Difficulty Rating: 8/10 (Requires basic VB.NET skills) VB.Net and ARDUINO STAGE I: This is the basic setup of the Speech/Text/Computer controlled Robot. The commands are sent serially over the USB to the ARDUINO Duemilanove. The corresponding signals then drive the two 300 RPM motors with the help of a motor driver IC L293D. STAGE II: Introduced a RF module so that the Robot can be wireless operated, with only the Receiver mounted on the Robot. The transmitter transmits the signals with the help of ARDUINO and the signals are received by the Receiver on the Robot, which controls the motion of the Robot. Video of the Software Implementation (Software part): Video demonstration of the speech commands to the robot (Software part): Video demonstration of the full project (Hardware + Software): This is the video of the Computer controlled robot which has following features-- Speech command input Text c...

Bend Sensor- Initial iterations and testing

Image
This is the video of the bend sensor designed at the lab for a project on 'Sensor based systems' course at KTH. This is the initial testing of the first such sensor made. The final demonstration:  Left hand controls the down-motion (brake) and the right hand controls the acceleration (move forward). Focus of the project was on the sensor-characterization and testing them for repetability, precision etc. In the video, you can see the Sensors in action. The small green board is the USB keyboard driver board, scrapped from an old dell keyboard. The blue components are solid state relays. 

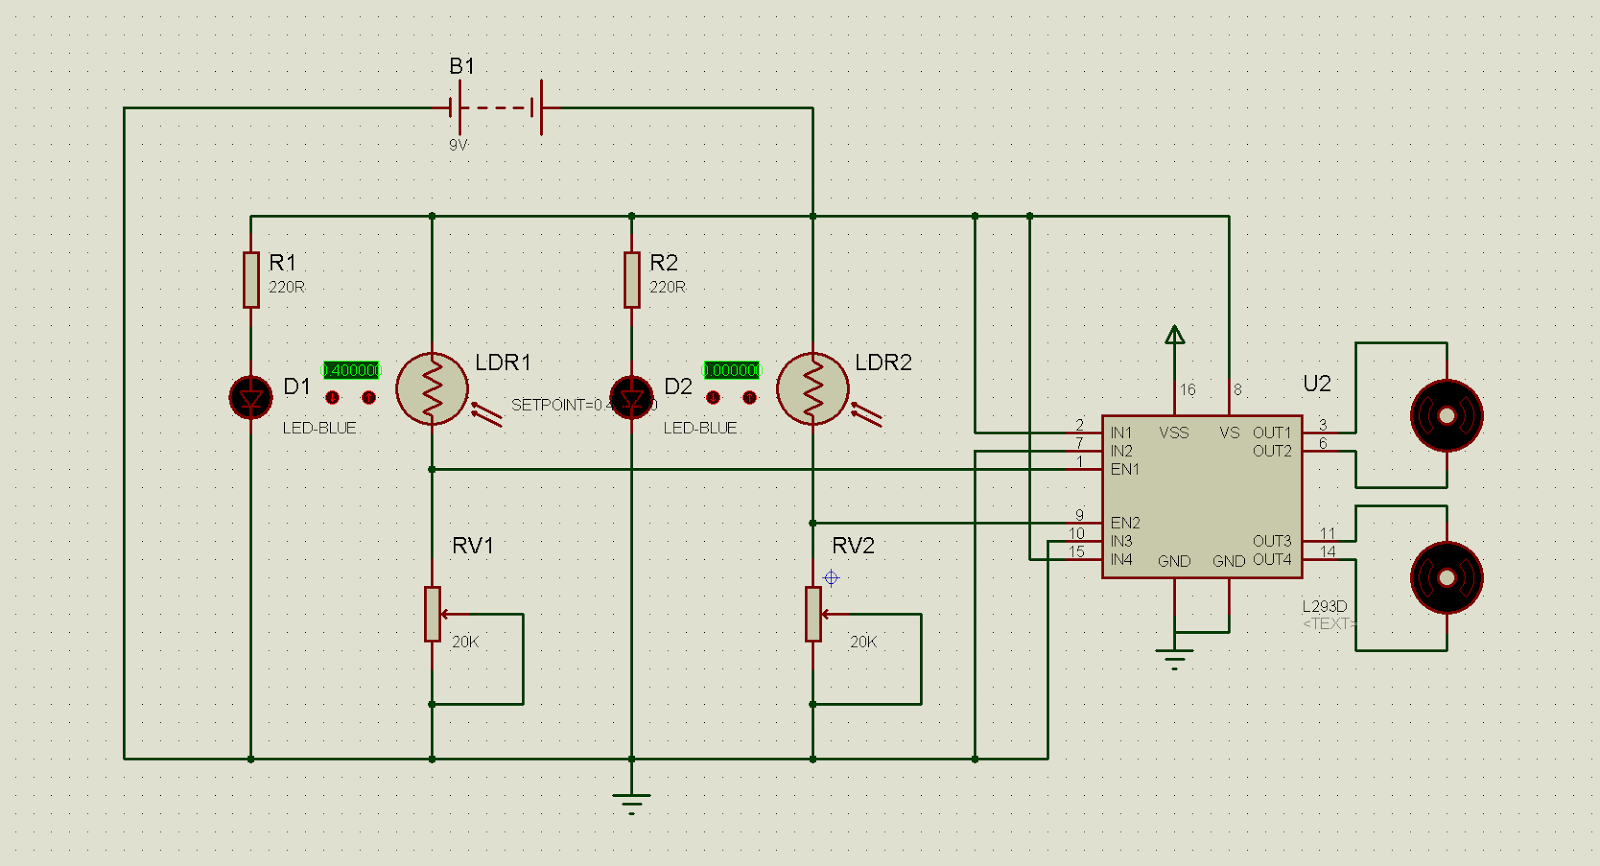
A totally random robotics experiment

Image
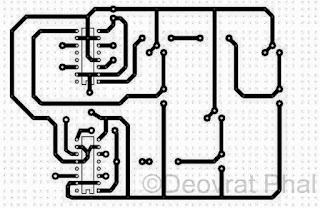
RF Module (Tx, Rx), LDR's, L293D, PCB manufacturing kit (to design PCB at home), Basic robot chassis Plan was to control the robot using LDR's basically a light operated robot kinda thing. The driver part was designed and fabricated at home. The PCB layout of the driver part The etched PCB board PCB board with components The controller part with LDR and RF module All parts attached  

Happy Diwali (The Engineers way)

Image
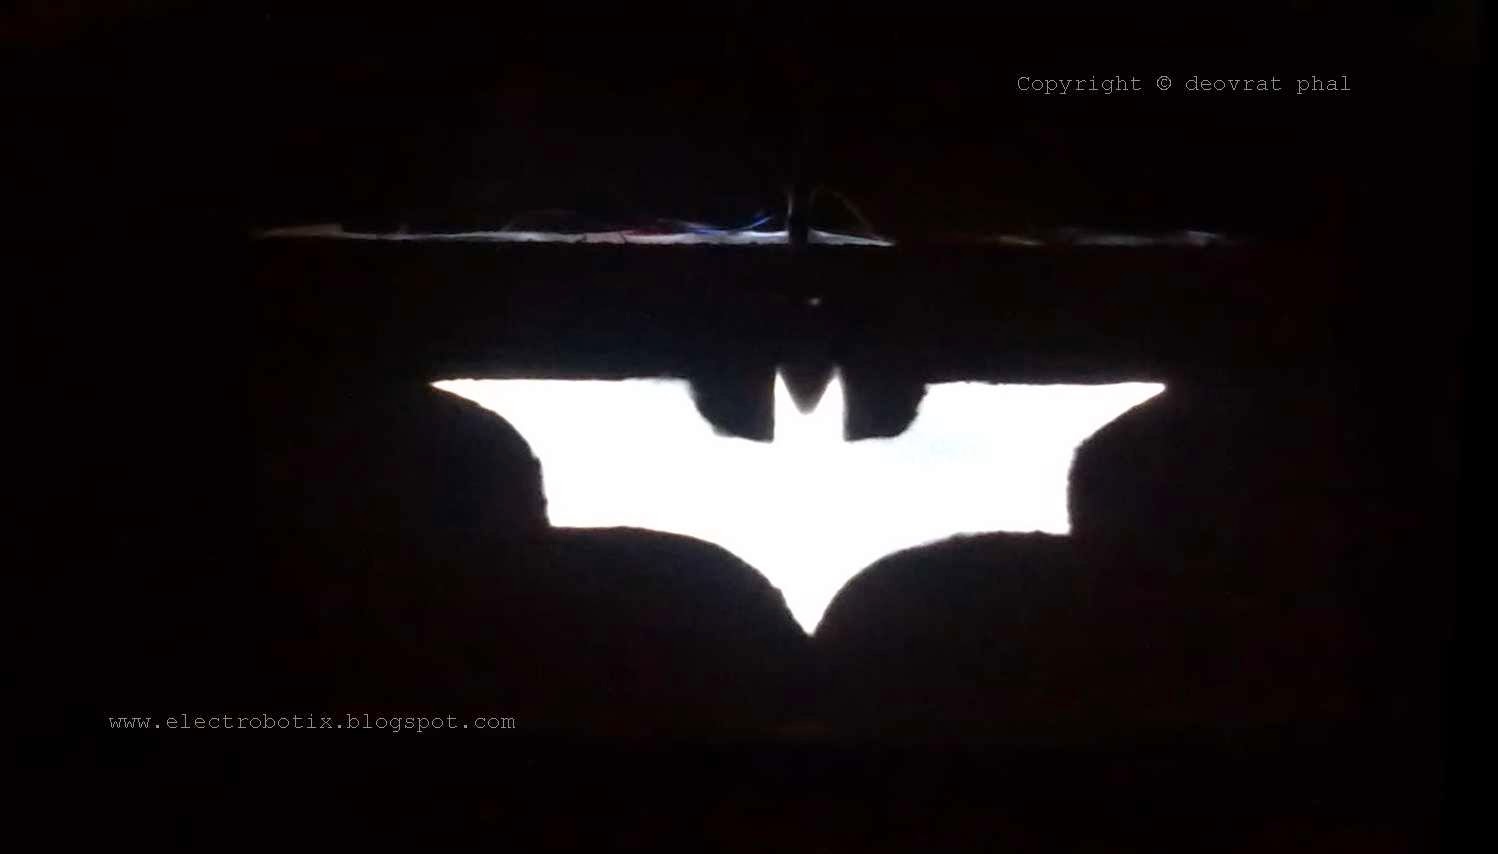
Its Diwali- the festival of lights! And speaking of lights, I thought that making a LED project would be a best tribute to Isamu Akasaki, Hiroshi Amano and Shuji Nakamura for their 2014 physics Nobel Prize. So its just a small LED project. Lets summon the Batman this Diwali !! The Bat-lantern in action ! To avoid the intricate circuitry I used a 12V SMPS adapter and a 5V regulator with two capacitors at input and output. Five LED's seems to work perfectly to make the bat-signal . The logo which I used is the one from 'The Dark Knight' movie. And the result was- a super awesome Bat-Signal-Lantern. Happy Diwali !!

Interface for Advance Robotic Controller (iARC) Version 1.00 & 2.00

Image
Difficulty Rating: 7/10 GUI Design: VB.NET Microcontroller Board: ARDUINO Duemilanov (AtMega 328) Features: Speech Commands, Text commands, Button Commands, Fully Autonomous Mode Used for: Robotic Car (iARC V1.00), Robotic Arm (iARC V2.00) The GUI is designed on Microsoft visual studio 2010 using VB.Net. The commands are serially sent to the ARDUINO Duemilanove, which controls the Robot car. The baud rate is set to 57600bps, which can be changed as per the user convenience.  I've also added a "Serial communication tester button" to ensure the flawless communication. It simply lights a LED when the serial communication takes place. Properties used to build the code: Baudrate: To set Baud rate Eg. 9600, 57600 Databits: Standard length of databits per byte Encoding: Byte encoding for pre and post transmission of conversion of text Handshake: Handshaking protocol for serial communication IsOpen: V alue indicating the open or closed status of the  Serialp...

A Text to Speech App using VB.NET (Microsoft Speech API)

Image
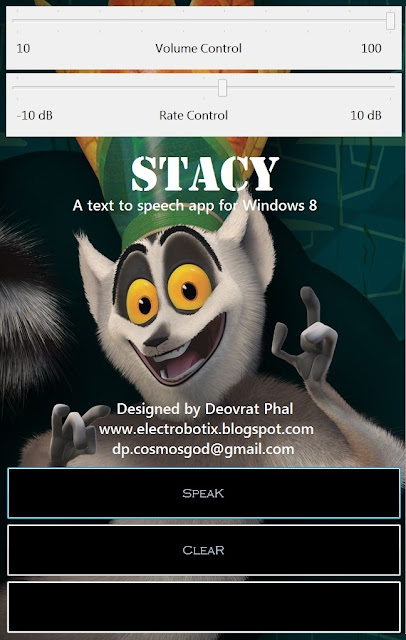
[Software Project] Difficulty Rating: 4/10 GUI Design: Microsoft Visual Studio 2010 software package. Back-end program: VB.NET This is a simple text to speech App designed using Microsoft Speech API. The SAPI is heart of this program (backend). I've added a few features like volume control, speaking rate control and an option to save the speech. The speech can be saved in any file say, mp3 or wav. Eventually, what we have, is a female computer generated Robotic Speech . SAPI.Volume = TrackBar1.Value This will control the volume from 10 to 100 in the steps of 10. Properties can be changed as per our convenience.  SAPI.Rate = TrackBar2.Value This will control the speed of speaking. Again properties can be changed as per our convenience.  For those having Resolution 1920 x 1080, Download STACY: Click here You will also need Microsoft .NET Framework 4 Web Installer Download it here: Click here Enjoy!!

YAW8: Yet another Windows 8 (Using Microsoft Visual Studio 2010- Express )

Image
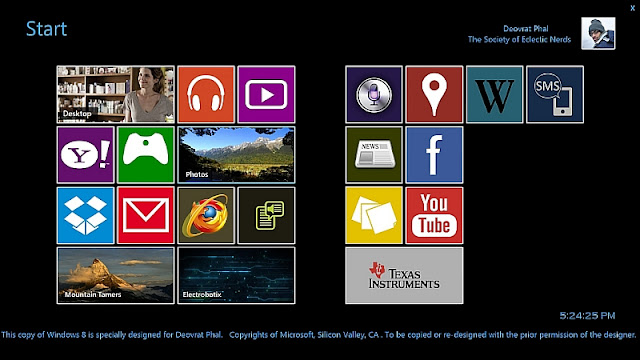
Made some changes to the previous version of my VB based Windows 8. More space for adding extra apps!! Added a fully customized web browser and a search engine. Also developed a dedicated Speech recognition tool and a text-to-speech application. From now on, my computer reads the e-books for me!! Henceforth don't let Microsoft rule your life. Make your own Windows 8 and make your own applications. Soon to be made available here for download (Demo Version) Stay tuned, More to come.

Windows 8 Metro Apps on Windows 7

Image
Difficulty Rating: 5/10 [Software] Don't have a Windows 8? Make one for your own, on Windows 7 itself!! I made this using VB.  Serves the purpose, right? It gives me full command over these apps (Metro apps). I have kept these apps enabled with a password. The User/Guest can access the destination path only if the password is correct. A different destination path is set for wrong password entries !!! Well, I don't wanna offend Microsoft by any means, but come on!! Make your own interface instead of using a pirated version of Windows 8   Here's the video. Hope you like it.                                    Soon to be available here for download. Enjoy!!

12V 7.2Ah SMF Battery Charger: Smart Approach for Smart devices by Smart People !!

Image
Difficulty Rating: 5/10 Abstract: This project gives an overview of the Sealed Maintenance-Free (SMF) Lead-Acid Rechargeable Battery charger using 3-pin  IC LM-317 as voltage regulator and opamp IC LM-324. In case of a simple battery charger, when the battery is fully charged and is left plugged in for more than a day or two, the battery may get damaged. In order to protect the battery from this major risk, the proposed battery charger is designed in such a way that the charging current falls gradually as the charging progresses. So the battery can be left plugged into this charger indefinitely, and it won't bother it in the slightest. Designing the Circuit:   Click the image to view the enlarged version The LM317 is an adjustable three-terminal positive-voltage regulator capable of supplying more than 1.5A over an output-voltage range of 1.25 V to 37 V. It is exceptionally easy to use and requires only two external resistors, R 2 ’ and R 2 ”  (R 2 ...

L293D: A notion to be cleared

Image
IC L293D, is the Motor Driver IC, which is usually linked to Robotics Applications. Even if you tend to use this guy, few basic questions still arouse in the minds of budding Hobbyists; Like Why 2 supply pins on the IC, How much voltage can be given to the IC, Should I short all the Ground pins of the IC ??????  Here, I'll be explaining the Pin description of L293D and not the specifications or other technical details. You can refer datasheet for that. L293D datasheet click here. To start with, any Microcontroller development Board works with a Max. of 5V, with a few hundreds of mA current. In case of ARDUINO Duemilanov: DC Current per I/O: 40mA DC Current for VCC & GND: 200mA  Is this current sufficient enough to drive a everyday 12V, 200RPM DC motor ? No.  So what ? Use a Motor Driver.  Does it help ? Yes. It converts low current to high, sufficient to drive a motor. Pin Conections (Important: Even pro's tend to m...

Workshop on Computer Controlled RF Rover @ ISTE SAKEC

Image
ORBO V 2.00 to roll during ISTE SAKEC Workshop on 9th March, 2013 ORBO V 1.00 Content of the Workshop: Intro to Robotics What is robotics? How we can use it in day-to day life. Scope of the workshop:- Using ATMega168  processors as bot-brain. Learning about the Arduino environment. Learning about c++ based processing language IDE. Learning about 4 channel RF control. Learning Arduino-Processing interfacing.          PC- Control theory Processing (An open source Electronic Sketchbook) Advantages and scope for robotics. Serial communications. GUI end user facility. Make Your own programs!. Controlling methods - Mouse,Pen tablet. Precision control- Keyboard.              Generic RF module:- Key to open source “hackable”  design. eg. :- Turbo - using the 5th channel. Using the Rf module for other purpose - E.g Controlling the home electrical system contro...

A journey from 'UV' to 'Electrical'

Image
A bunch of these just made an entry into my IC box. S27C64A-20FA is a 64Kb CMOS EPROM (8Kx8), one of the Obsolete Electronic Component manufactured by Signetics. It comes in 28 pin ceramic Dual Inline package (DIP) with Quartz window. 

Torch Light with Generator

Image
A device that comes in handy during Mountaineering/Trekking Difficulty Rating: 3/10 Motivation: Using AA pencil cell to power a torch is too mainstream & also power consuming. And if you are a Mountaineer, where torch-light is vital, replacing these cells becomes too much of pain in the ass. Instead, how about a torch which doesn't need cell replacement in the first place?? The chargeable torch-lights (china made), like this one, have become a commonplace in today's Electronics market. Commercial Torch-light (Not mine) But does anyone have a similar torchlight, which has lasted more than a year? So I decided to make one for myself, owing to its use during one of the Mountaineering adventures. My prototype It works just fine !!!!! Hardware: A small pipe, wheel, Long screw (for charging purpose), lots of duct tape, white paper (behind LED) Electronics: 4.8V Li-ion battery, Toggle switch, push-button switch, 9 high-power LED, Dynamo, PCB, 2 Capaci...

The Hexapod

Image
Difficulty Rating: 5/10 Hexapod Robot using 12 BO series DC motor (12V-6V and 60RPM) Microcontroller platform is a ARDUINO (clone) using ATMega 328 Used 6 L293D IC's. 1 IC for driving 2 DC motors.

Finally Airborne !!!!!

Image
Introducing,  JATAYU  ( जटायु)  a dual-rotor RC chopper. A sweet souvenir from Malaysia!!! Cost: 120 MYR (Approx. 2000₹) As the time flies by, day by day, year by year the focus starts drifting from small battery operated toys to the toy cars, the remote controlled cars....... and eventually lands up on the flying models (In my case). And once  you get totally involved in the hobby, even your wildest imagination cannot stop you from thinking about it. From the busiest hour or in your deepest sleep, its still there, somewhere, what you are most inclined to,  wanted thing of your life. For me its RC Heli...... The First Flight (Also the first crash :p ) A fine sunday morning at Meru Valley, IPOH City Malaysia. Thought, would take Heli for a quick 'morning-flight'. Took the 2 ft. long birdy and kept it on the ground. Slowly moved the throttle stick, and watched as the heli lifts up smoothly. But as it takes off from ground, it runs into a self rot...

Line follower Robot - without using Microcontroller!!

Image
Difficulty Rating : 3/10 Ever wanted to make a Line follower Robot, 'without' using  Microcontroller ??? Then you have visited a right place. Inspiration: I stumbled upon this Robot in my First year of Engineering during one of the Intercollegiate Robotics Championship (Regional) and ever since, it was my dream to make this Robot on my own. I googled for it & got many designs, but all Microcontroller based. I even shortlisted a few but my senior Pratik Kamat asked me take small steps first and suggested me to make one without the use of Microcontroller and with self designed logic. Now, as a part of Electronics workshop in Sem-IV (II Year), we were supposed to make a project based on 'Electronics'. Since I was introduced to Microcontrollers at that stage, I made a proposal to make a Microcontroller based LFR( Line follower Robot). But it was rejected by my Batch in-charge as no microcontroller based projects were allowed for current semester. So i decided...

How to Improve the performances of DC Power supplies & DC motors

Image
Basically  a DC power supply consists of following - Step down transformer Rectifier ( Bridge Connection) Filter Regulator Regulated DC output A standard, general purpose 24V-5Amp power supply is available at Lamington Road, Mumbai. But it consists of only first three elements of power supply i.e. Step down transformer, Rectifier                              (Bridge Connection) and Filter. If you check its rating using a Multimeter, you will find that its actual Voltage Rating & current Rating  is something beyond the specified values. Its actually 35V (DC) 2Amp along with a comparable value of AC voltage !!  This AC is enough to hamper the performances of the DC devices (mostly DC Motors) which are powered using these messed up power supplies ( It cannot be called blunder as it is serving its purpose of giving DC output ).  As the 'DC' Motors run on ...