Posts

Finally Airborne !!!!!

Image
Introducing,  JATAYU  ( जटायु)  a dual-rotor RC chopper. A sweet souvenir from Malaysia!!! Cost: 120 MYR (Approx. 2000₹) As the time flies by, day by day, year by year the focus starts drifting from small battery operated toys to the toy cars, the remote controlled cars....... and eventually lands up on the flying models (In my case). And once  you get totally involved in the hobby, even your wildest imagination cannot stop you from thinking about it. From the busiest hour or in your deepest sleep, its still there, somewhere, what you are most inclined to,  wanted thing of your life. For me its RC Heli...... The First Flight (Also the first crash :p ) A fine sunday morning at Meru Valley, IPOH City Malaysia. Thought, would take Heli for a quick 'morning-flight'. Took the 2 ft. long birdy and kept it on the ground. Slowly moved the throttle stick, and watched as the heli lifts up smoothly. But as it takes off from ground, it runs into a self rot...
Line follower Robot - without using Microcontroller!!

Image
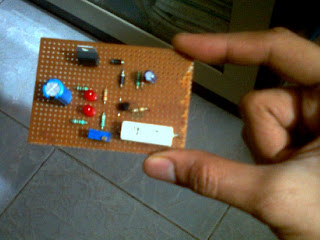
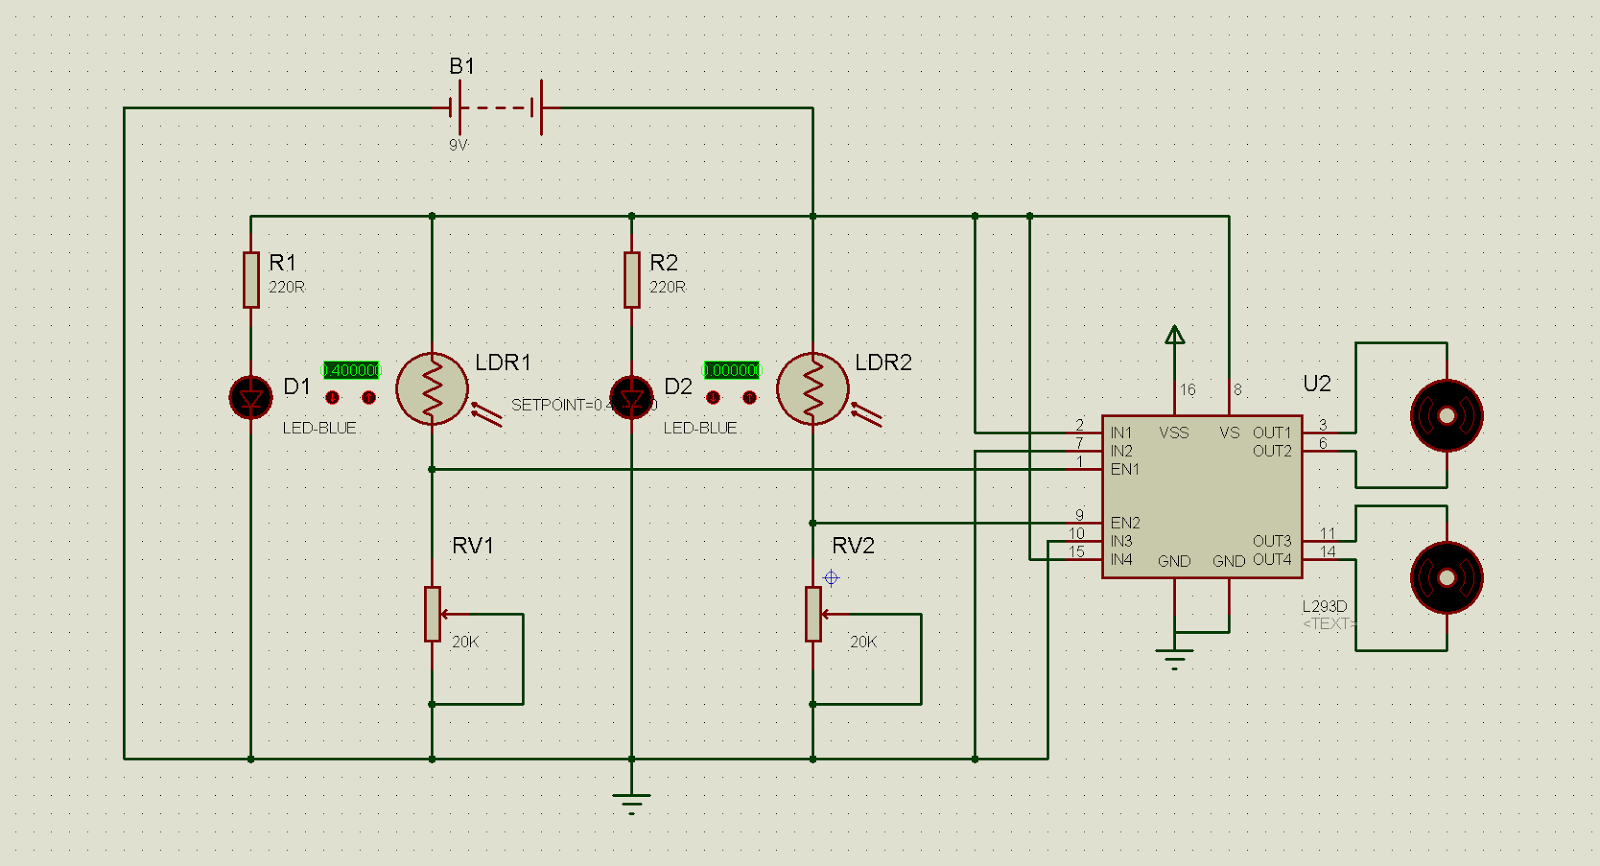
Difficulty Rating : 3/10 Ever wanted to make a Line follower Robot, 'without' using  Microcontroller ??? Then you have visited a right place. Inspiration: I stumbled upon this Robot in my First year of Engineering during one of the Intercollegiate Robotics Championship (Regional) and ever since, it was my dream to make this Robot on my own. I googled for it & got many designs, but all Microcontroller based. I even shortlisted a few but my senior Pratik Kamat asked me take small steps first and suggested me to make one without the use of Microcontroller and with self designed logic. Now, as a part of Electronics workshop in Sem-IV (II Year), we were supposed to make a project based on 'Electronics'. Since I was introduced to Microcontrollers at that stage, I made a proposal to make a Microcontroller based LFR( Line follower Robot). But it was rejected by my Batch in-charge as no microcontroller based projects were allowed for current semester. So i decided...

How to Improve the performances of DC Power supplies & DC motors

Image
Basically  a DC power supply consists of following - Step down transformer Rectifier ( Bridge Connection) Filter Regulator Regulated DC output A standard, general purpose 24V-5Amp power supply is available at Lamington Road, Mumbai. But it consists of only first three elements of power supply i.e. Step down transformer, Rectifier                              (Bridge Connection) and Filter. If you check its rating using a Multimeter, you will find that its actual Voltage Rating & current Rating  is something beyond the specified values. Its actually 35V (DC) 2Amp along with a comparable value of AC voltage !!  This AC is enough to hamper the performances of the DC devices (mostly DC Motors) which are powered using these messed up power supplies ( It cannot be called blunder as it is serving its purpose of giving DC output ).  As the 'DC' Motors run on ...

NiMh 12V,1.2Ahr Battery Charger

Image
Difficulty Rating: 4/10 Exactly 5 months after my Internship/project  at M.A.P.L. Pune, on Lead acid SMF Battery charger,  my knowledge on Battery charging was put to test by a Mechanical Engineering friend. I was asked to charge a 12V 1200mAh NiMh battery. Now, before getting into its technical aspects, a little overview about battery chargers. General battery charging techniques- Trickle chargers This charger provides a constant charge rate of ~ 0.1C. The general idea behind keeping the charge rate low is to compensate for the batteries self-discharge. The charge rate being low, the battery can be left unplugged for days!!!The charge rate of the battery should be equal to self-discharge of the battery. Such chargers are generally used in industrial applications , where less of human intervention is required. Float chargers The battery and the load are constantly connected to the source. The float chargers maintains full charge & provides a protection against...

Light controlled Robot without using Microcontroller

Image
Difficulty Rating : 1/10 First Self designed Robot Based on LDR based light sensing module Description: This circuit is specially designed to make a Robot that can be controlled using light. Works best with a laser light . LDR or light dependent resistor is a resistor which has high resistance in dark (a few megaohms) and low resistance in light. Using this principle two kind of circuits can be implemented viz. photovore(Light activated) & photophobe(dark activated). The module shown below acts as a photovore.The variable resistor adjusts the intensity of light at which the transistor switches ON. So when light falls on the left ldr, left motor will get activated and when light falls on right ldr right motor will get activated, depending on how you attach the motors. Components: light dependent resistors (LDR)-2 2.7 Vz Zeners (Recommended, but not required) -2 Diodes 1N4004_1N4007 (any)- 2 General purpose transistor(SL 100 or 2N3903)-2 10K pots-2 low rpm DC...